How 3D Design Helps You Test a New Room Layout Before Remodeling
3D design lets you test a proposed room layout against real measurements before you buy materials, remove fixtures, or commit to DIY remodeling. By modeling walls, openings, utilities, furniture, clearances, and daily movement first, you can spot impractical choices while changes are still easy to make.
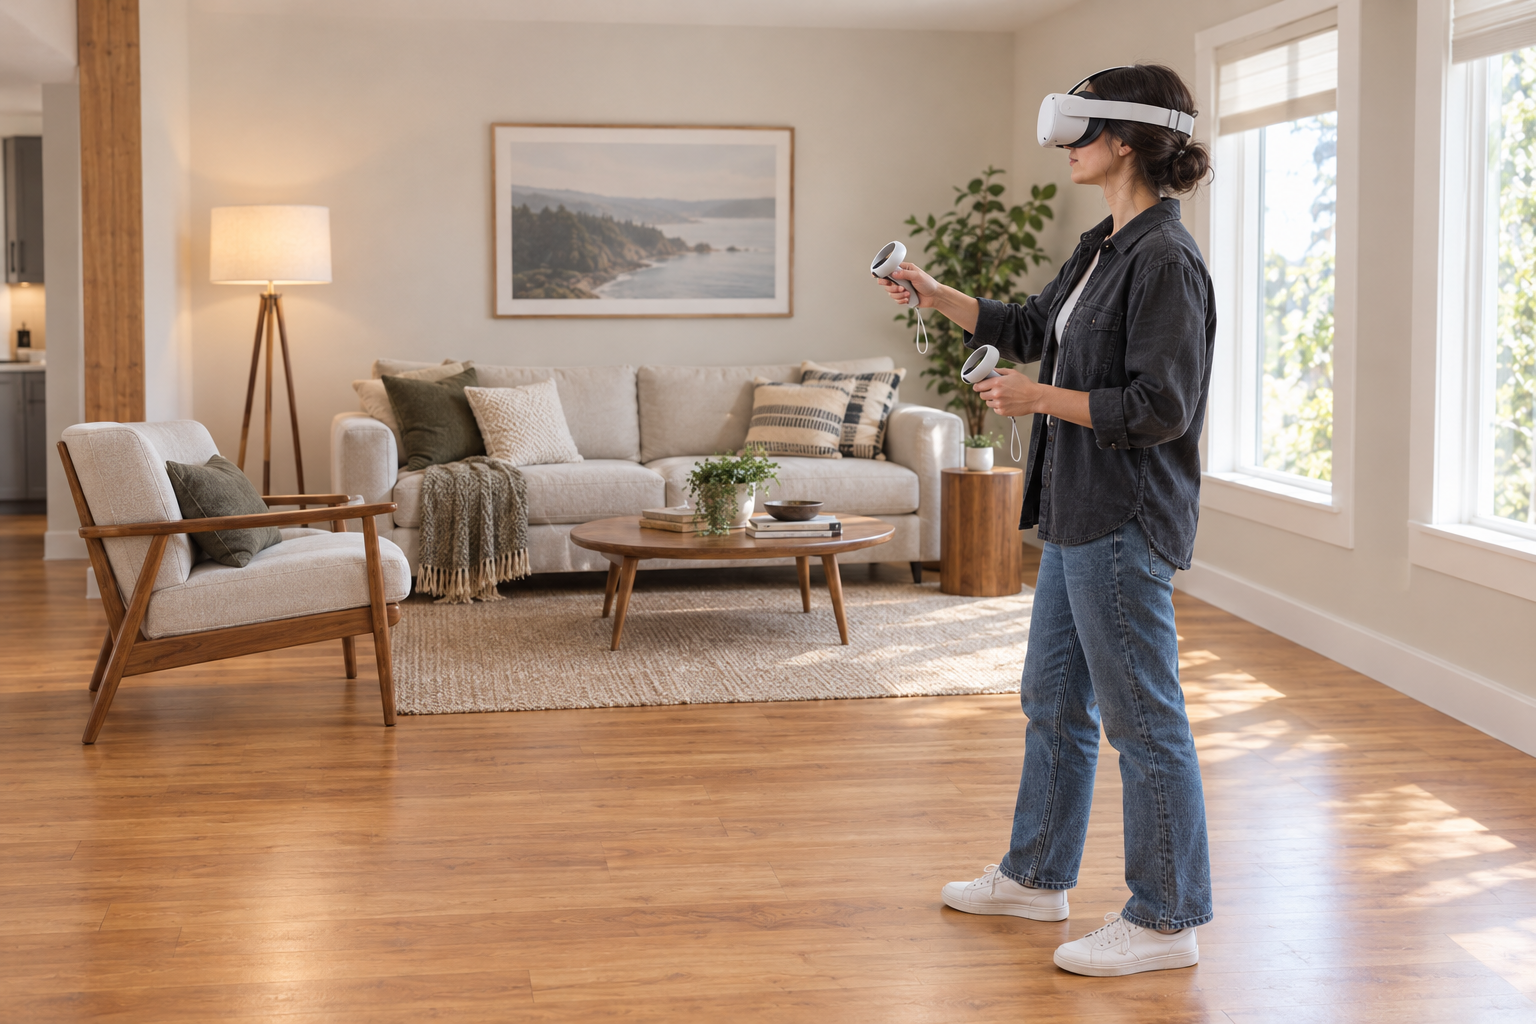
What should you prepare before testing a room layout in 3D?
Prepare accurate measurements, photos, fixed-utility locations, furniture dimensions, and a rough budget before reviewing a new modern house design. For one room, plan on about 60 to 90 minutes for an initial review when the measurements are ready; the process is beginner-friendly when you work from reliable information.
The goal is to test a remodeling idea before purchasing materials, removing cabinets, moving fixtures, or starting work that may be difficult to reverse. Gather wall lengths, ceiling height, door and window locations, plumbing and electrical points, appliance or furniture measurements, and photos from several corners. Record the room's current finishes and any obvious damage as well.
A 3D model is a planning aid, not a substitute for permits, building-code checks, structural review, or licensed trade work when those requirements apply. It can show that a layout appears workable, but it cannot confirm what is behind a wall or approve a change to wiring, plumbing, framing, or ventilation.
Gather accurate room measurements
Measure each wall, opening, ceiling height, door swing, window clearance, trim depth, and irregular corner from consistent finished surfaces. Measure fixed cabinets, appliances, plumbing fixtures, and furniture separately, then label each measurement with its location. A second pass catches small errors before they affect the room layout.
Record existing conditions and constraints
Photograph outlets, switches, vents, soffits, supply lines, drains, water damage, and surfaces that may need repair. Note which items can move and which may restrict the design, then add a rough budget so an attractive layout is judged against realistic project limits.
How do you build a 3D version of the existing room?
Build the existing room first, then duplicate that model before testing the proposed modern house design. Starting with an accurate baseline makes it easier to compare options and identify which change created a problem.
Enter wall lengths and ceiling height in sequence, followed by doors, swings, windows, trim, soffits, cabinets, appliances, plumbing fixtures, vents, outlets, and switches. Add permanent features before movable furniture. Use the same measurement convention throughout; mixing wall-to-wall dimensions with trim-to-trim dimensions can distort clearances.
Next, compare the digital room with your photographs from each viewing angle. If a proposed layout changes a location, remeasure that wall, opening, fixture, or utility rather than assuming the first measurement is sufficient. A useful checkpoint is simple: the model should look like the room you have today before you add anything new.
Start with the walls, openings, and fixed utilities
Model the room's shell before adding style: walls, ceiling, doors, windows, trim, soffits, vents, outlets, plumbing, and fixed cabinets. Check every opening against photographs and confirm door swings and window clearances. Common mistakes include measuring finished surfaces inconsistently, forgetting trim, and overlooking a low soffit that affects cabinet height.
Add furniture, fixtures, and circulation space
Add appliances, bathroom fixtures, seating, tables, beds, and storage using their actual measurements. Treat movable furniture as movable, but show it in the model so you can test realistic use. Verify that people can approach appliances, open doors and drawers, enter a shower, and pass through the room without awkward turns.
Which layout risks can a 3D review expose before remodeling?
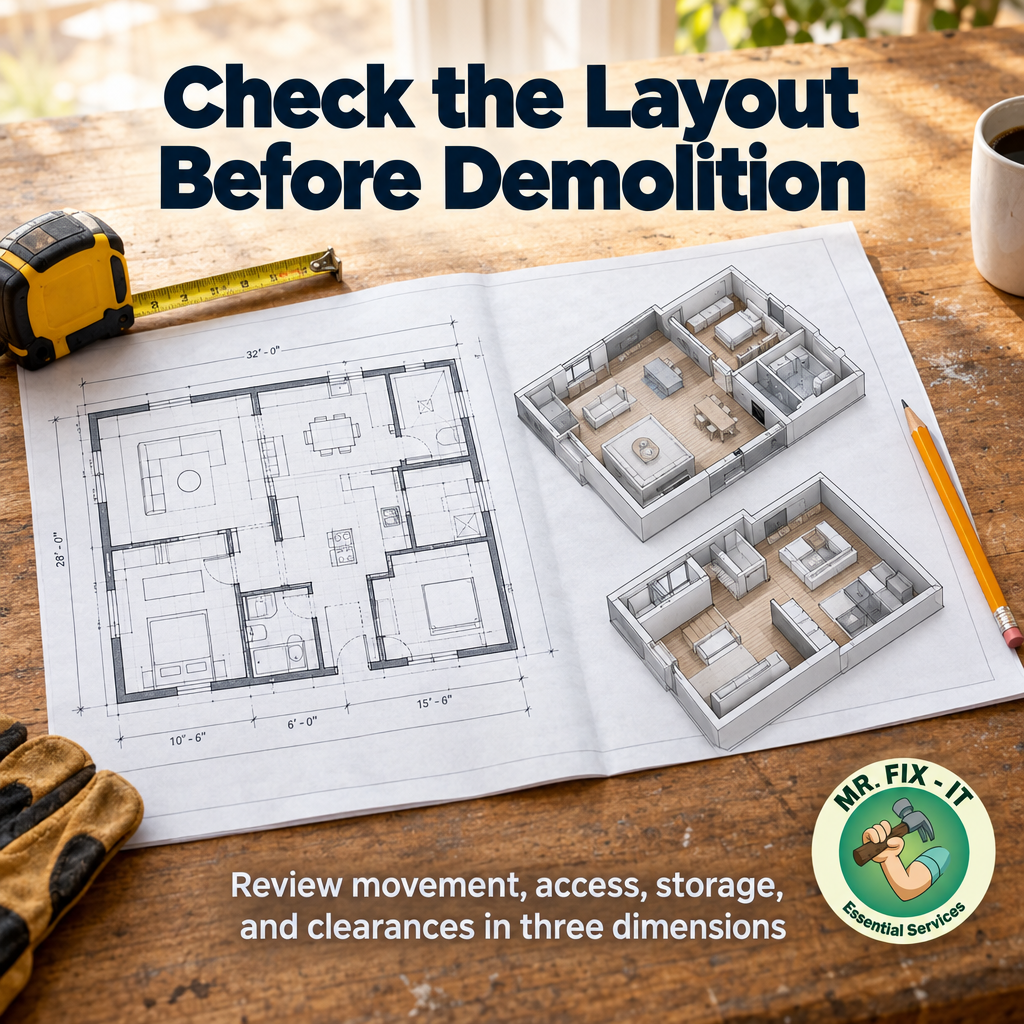
A 3D review can expose clearance, access, storage, and circulation problems before anything is physically moved. Create two or three arrangements for a kitchen, bathroom, living room, or aging-in-place improvement and compare the same daily activities in each version.
Test door and drawer operation, appliance access, walking routes, seating, shower entry, countertop work zones, and storage reach. A design may look clean from one camera angle yet leave no practical space to unload a dishwasher, turn toward a shower, reach a shelf, or sit without blocking a walkway. Concealed conditions still require onsite inspection, especially near plumbing, wiring, framing, or water damage.
- Dimension review: Does every cabinet, fixture, appliance, and furnishing fit the measured room?
- Clearance review: Can doors, drawers, appliances, and shower doors open without blocking movement?
- Utility review: Do plumbing, electrical, ventilation, and appliance connections remain feasible?
- Material review: Do quantities, finishes, thicknesses, and transitions match the proposed layout?
- Tool review: Do you have the tools and workspace needed for each planned task?
- Sequence review: Can the work happen safely in an order that leaves the room usable when required?
Test movement and working clearances
Walk through each layout as if you were cooking, bathing, cleaning, carrying groceries, or assisting someone with an aging-in-place improvement. Open every door and drawer in the model and mark the narrowest routes. The winning layout should support ordinary movement, not only look balanced in a polished overhead view.
Check sightlines, storage, light, and daily use
Use several viewpoints to check whether seating faces the right direction, storage is reachable, windows remain useful, and work surfaces receive practical light. Compare what is visible from the entry and adjacent rooms. A visually minimal layout can still fail if it hides needed storage or creates a daily workaround.
How do you turn the approved 3D layout into a realistic DIY work plan?
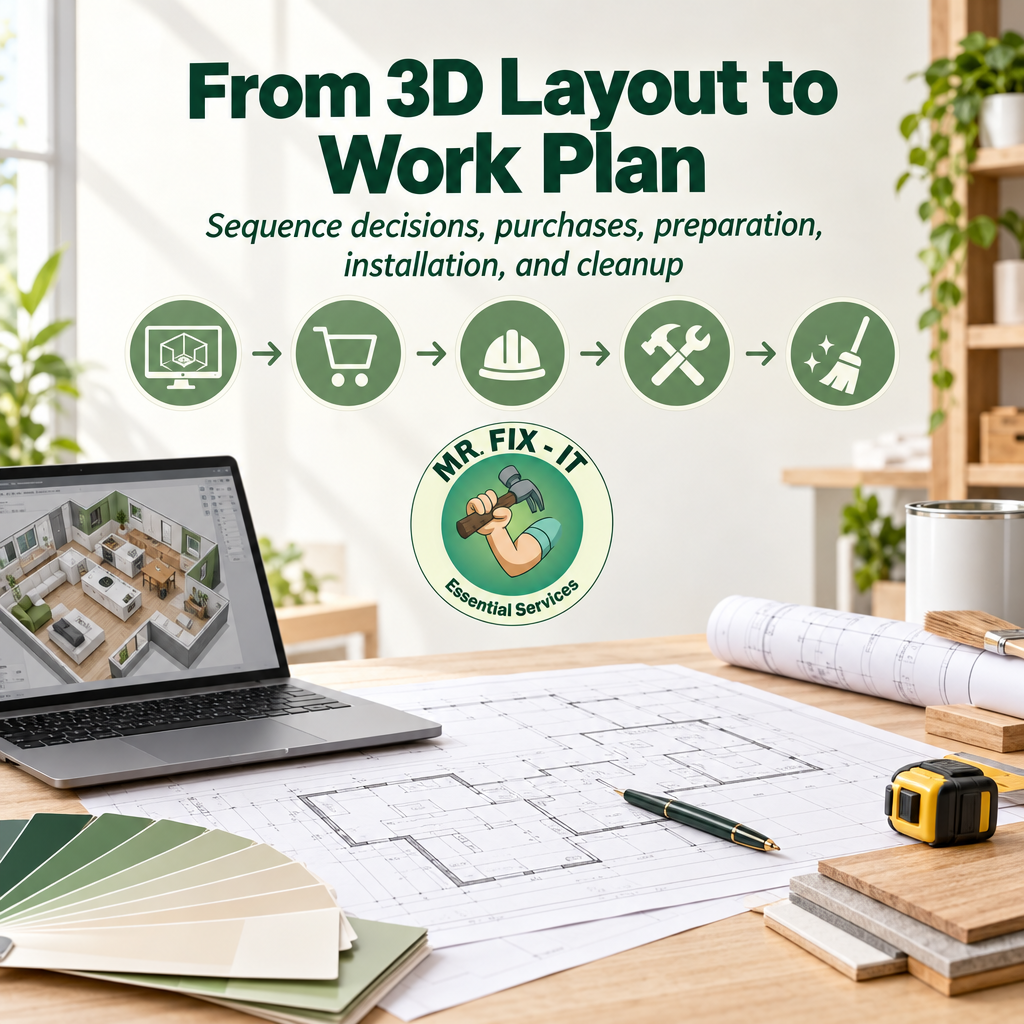
Turn the selected layout into a sequence that moves from measurement and design decisions through purchasing, preparation, installation, corrections, and cleanup. The 3D model becomes useful when every major design choice connects to a task, material, tool, and stopping point.
Create a purchasing list that names each material, measured quantity, finish, expected lead time, and installation task. Include preparation supplies and replacement items, not only visible finishes. Before buying, identify tasks that may require specialty tools, trade knowledge, permits, or a second opinion. This is where a modern look should be tested against available skills and the room's existing conditions.
Separate planning, purchasing, preparation, and installation
Keep planning separate from purchasing so a late layout change does not leave you with unusable materials. Then schedule preparation, installation, corrections, and cleanup in order. For each phase, record what must be complete before moving on, such as confirming a wall condition before ordering cabinets or checking dry-fit clearances before fastening anything.
Match each task to skills, tools, and outside help
Mark each task as suitable for your current skills, dependent on a specialized tool, or requiring qualified outside help. A renovation plan may include measuring, refinishing, assembly, demolition, plumbing, electrical, or structural work. Stop before uncertain work and ask for guidance when safety, code, utilities, or hidden damage affects the next step.
When should a homeowner get a second opinion on the design?
Get a second opinion when measurements conflict, a wall may be load-bearing, plumbing routes are unclear, electrical changes seem necessary, water damage appears, code questions remain, or the layout forces awkward workarounds. These warning signs can turn a simple room update into a larger project if they are ignored.
Our renovation consulting supports project assessment, planning, material and tool recommendations, step-by-step instruction, and real-time troubleshooting. Mr Fix It DWY's Onsite Audit and 3D Design process includes a one-hour kitchen or bathroom assessment, keep-refinish-replace recommendations, custom 3D design, prioritized next steps, and budget-conscious guidance.
Virtual consultations provide DIY renovation advice to homeowners anywhere in the United States. Onsite services are available to local homeowners in Oregon, including the Brookings, Curry County, and Harbor area, subject to the service arrangement discussed with our team.
Use an onsite review for existing-condition questions
An onsite review is the better choice when the design depends on what is actually behind a wall, under a floor, or around an existing fixture. We can help examine the room as it stands, compare keep-refinish-replace options, and identify questions to resolve before demolition or material orders.
Use virtual coaching for planning and troubleshooting
Virtual coaching works well when you need help comparing layouts, organizing a materials list, reviewing a proposed sequence, or troubleshooting a DIY step from home. We can discuss the design decisions and next actions remotely, while questions involving concealed conditions may still need onsite inspection or licensed trade review.
What should you verify before buying materials or starting demolition?
Verify the final dimensions, clearances, finish quantities, delivery timing, tool access, waste removal, safety plan, permit needs, and order of work before buying materials or starting demolition. Compare the approved model with the existing room one last time and confirm that the design still fits your budget and ability to complete the work.
Use keep-refinish-replace decisions to avoid removing sound items simply to create a modern look. An existing cabinet, vanity, surface, or furnishing may work after refinishing or repositioning, while replacement may be justified when condition, function, or layout prevents a reliable result. If the layout fails, return to the existing-condition model, identify the failed constraint, and revise one variable at a time.
When the failed constraint involves structure, utilities, water damage, or safety, pause rather than forcing a workaround. Our team can discuss project scoping, cost estimation, contractor quote review, remodeling second opinions, or DIY renovation coaching through Mr Fix It DWY before work begins.
Run the final design and budget check
Confirm that every major design choice has a measured quantity, finish, delivery plan, tool, installation task, and stopping point. Check whether materials arrive before the work reaches that phase, and include preparation, protection, cleanup, and disposal in the plan. A final review is the right time to remove unnecessary scope.
Set a stop point for hidden-condition discoveries
Decide in advance which discoveries require a pause, such as unexpected wiring, plumbing damage, structural movement, mold concerns, or missing permits. Photograph the condition, update the model and budget, and seek appropriate guidance before continuing. Stopping early usually preserves more options than covering a problem and discovering it later.
Frequently Asked Questions
Can 3D design show whether my new room layout will work before I remodel?
Yes. A 3D model lets you test dimensions, circulation, door and drawer movement, furniture placement, sightlines, storage, and fixture access before construction. Check it against accurate measurements, and remember that it does not replace structural, plumbing, electrical, permit, or code review.
What should I measure before creating a 3D room design?
Measure wall lengths, ceiling height, doors, windows, trim, fixed cabinets, appliances, plumbing fixtures, vents, outlets, and irregular corners or soffits. Take photos and record measurements consistently so the model reflects existing conditions rather than an idealized room.
Does 3D design help with a DIY remodeling budget?
It can reduce guesswork by connecting the proposed layout to measured material quantities, tool needs, preparation tasks, and installation steps. It cannot predict every hidden condition, so keep contingency room and review uncertain demolition or utility work before buying materials.
When should I ask for renovation consulting before starting work?
Ask for guidance when you are unsure about the layout, sequence, materials, tools, contractor quotes, existing damage, or the boundary between DIY work and specialist work. Mr Fix It DWY offers project assessment, planning, recommendations, instruction, troubleshooting, and second-opinion consultation options.


Comments
Post a Comment